

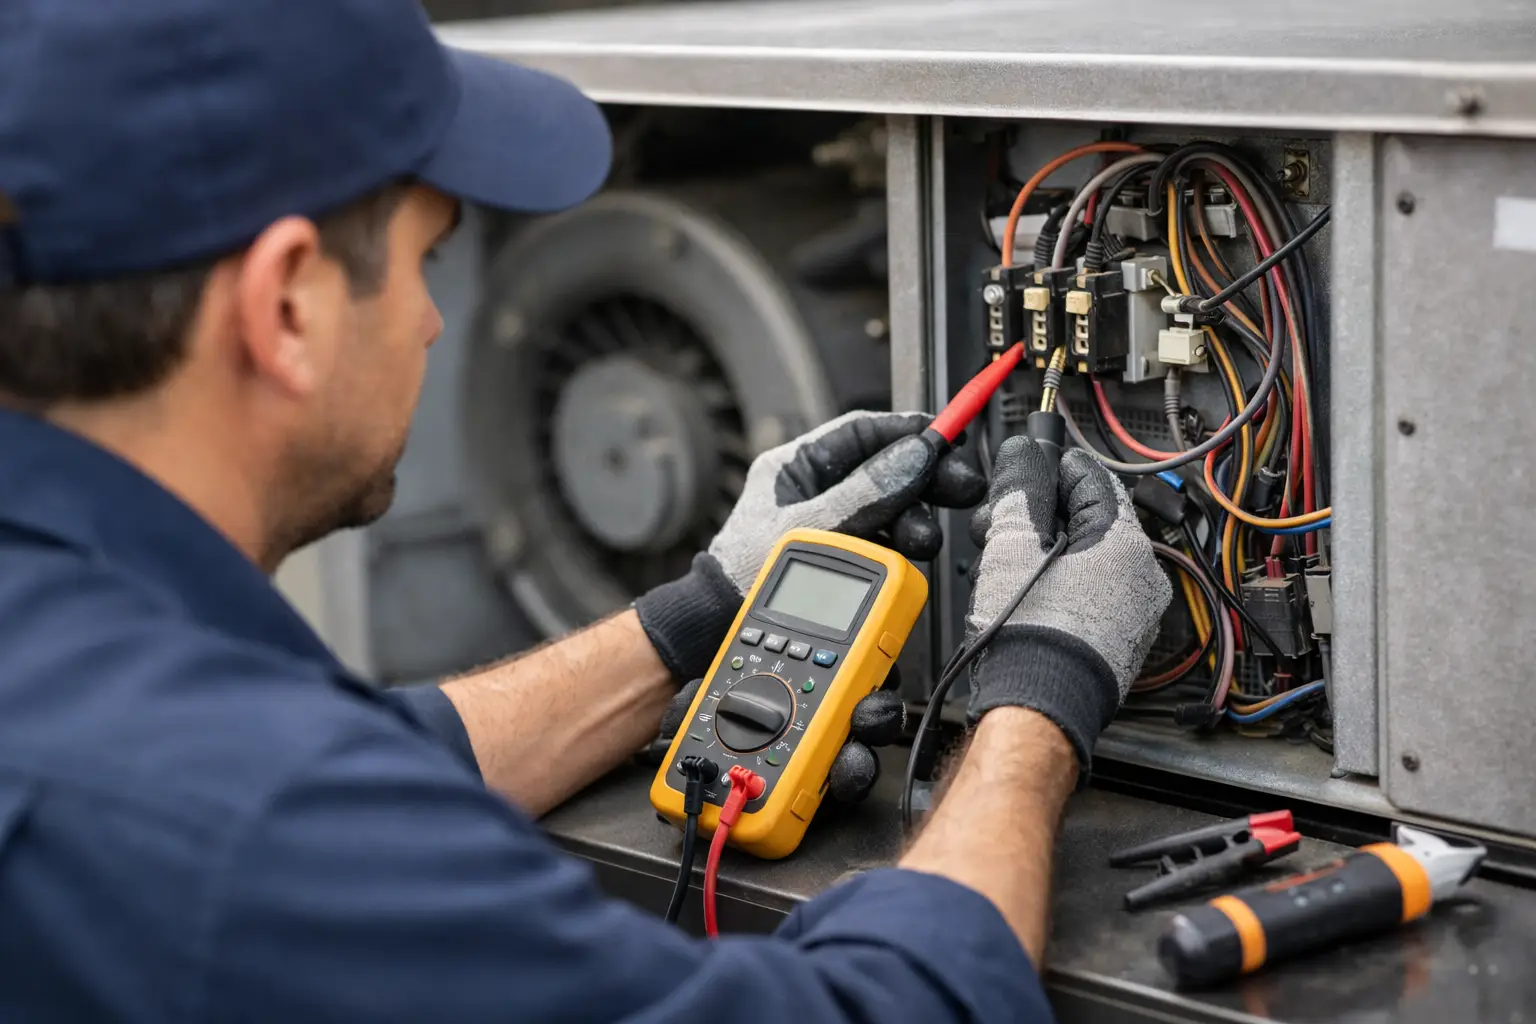
A thermostat that goes blank, an outdoor unit that hums but will not start, or a breaker that trips every time the AC runs can point to an electrical problem. To diagnose HVAC electrical failures correctly, you have to look beyond the symptom. A bad capacitor may look like a failed compressor. A loose connection can resemble a thermostat issue. Guessing often leads to unnecessary parts and unnecessary replacement recommendations.
Electrical faults deserve a careful approach because HVAC equipment uses high voltage, stored electrical energy, and components that can be damaged by repeated restart attempts. Homeowners and facility managers can safely check a few basics. The actual diagnostic work should be handled by a licensed HVAC technician who can test the system, identify the failed component, and explain whether a repair makes sense.
Start With the Symptom, Not the Sales Pitch
A proper diagnosis begins with what the system is doing, when it started, and what changed before the problem appeared. Did the air conditioner stop after a thunderstorm? Does the furnace work but the blower will not run? Does the thermostat call for cooling, but nothing happens outside?
These details narrow the search. HVAC electrical problems are rarely random. They often follow a pattern tied to a tripped breaker, a failing part under heat, water intrusion, rodent damage, a power surge, or normal wear on a high-use component.
A technician should verify the complaint before replacing anything. That means checking the thermostat call, confirming power at the equipment, inspecting safety controls, and testing the components in the order the system is designed to operate. This process takes more time than swapping parts, but it is how you find the real problem and fix it.
Common Signs of an HVAC Electrical Failure
Electrical issues do not always shut down a system completely. Sometimes the warning signs are subtle at first. You may notice the system starting slowly, lights dimming when the outdoor unit starts, an unusual buzzing sound, or cooling that comes and goes during the day.
More urgent signs include a burning odor, visible scorch marks near the disconnect or electrical panel, a breaker that repeatedly trips, or a unit that makes a loud hum without starting. Turn the system off if you smell burning insulation or see smoke. Do not keep resetting the breaker to force the equipment to run. A breaker is designed to stop unsafe current flow, and repeated resets can cause more damage.
Commercial property operators may also see the issue as uneven temperatures, a rooftop unit that short-cycles, or lost cooling in one zone while the rest of the building operates normally. In these cases, fast diagnosis matters because downtime can affect employees, customers, inventory, and equipment.
How Technicians Diagnose HVAC Electrical Failures
Technicians use a step-by-step process because each electrical component depends on the one before it. The goal is not just to find a failed part. It is to determine why it failed and whether another condition could cause the new part to fail again.
Verify Power and Breaker Condition
The first check is incoming power. A technician confirms that the breaker is on, the disconnect is properly seated, and the equipment is receiving the correct voltage. A breaker can look on while sitting in a partially tripped position, so it may need to be reset fully off and then back on. That is a simple check, but it should not become a routine workaround.
If the breaker trips again, the technician looks for an overloaded circuit, damaged wiring, a grounded component, or a mechanical problem causing the motor or compressor to draw too much current. The answer depends on test results, not assumptions.
Check the Thermostat and Low-Voltage Circuit
Your thermostat runs on low-voltage control wiring, usually 24 volts. If the display is blank, the issue could be as simple as dead batteries on some models. It could also be a blown low-voltage fuse, a failed transformer, damaged thermostat wire, or a condensate safety switch that has opened because the drain is backed up.
A low-voltage fuse that keeps blowing is a clue, not the root cause. Replacing it without finding the short can result in another blown fuse as soon as the system starts. Technicians inspect wiring at the thermostat, indoor unit, outdoor unit, and any accessories such as float switches or zoning controls.
Test Capacitors, Contactors, and Relays
In air conditioning systems, capacitors help motors and compressors start and run. A weakening capacitor may cause hard starts, humming, intermittent operation, or a fan that will not spin. Capacitors can hold a dangerous charge even after power is removed, which is one reason this is not a safe homeowner repair.
The contactor is another common failure point. It is an electrically controlled switch that sends high voltage to the outdoor unit when the thermostat calls for cooling. Pitted contacts, insects, debris, or a failed coil can keep the unit from starting. A technician tests whether the contactor is receiving the correct control signal and whether it is passing power as designed.
Relays and control boards perform similar jobs in furnaces, heat pumps, air handlers, and commercial equipment. A failed relay may leave the blower running constantly, prevent the inducer motor from starting, or stop a heat pump from switching modes. Replacing a board without testing the inputs and outputs can be expensive guesswork.
Measure Motor and Compressor Performance
Electrical diagnosis also includes the loads that use the power. Blower motors, condenser fan motors, inducer motors, and compressors each have expected voltage and amp draw ranges. A technician compares actual readings with the equipment specifications.
High amp draw can point to a failing motor, restricted airflow, a weak capacitor, bearing wear, or compressor trouble. Low voltage can create its own damage by making motors work harder than they should. This is why a correct diagnosis considers the entire circuit, not one isolated component.
What You Can Check Before Calling for Service
There are a few safe checks that can save time and give your technician useful information. Confirm that the thermostat is set to the correct mode and temperature. Check whether the HVAC breaker has tripped once. Make sure the outdoor disconnect has not been switched off accidentally. If your thermostat uses batteries, replace them.
Also inspect the air filter. A severely clogged filter will not usually cause an immediate electrical failure, but it can restrict airflow and contribute to overheating, frozen coils, and motor strain. For homes with a condensate drain safety switch, look for water around the indoor unit or an overflowing drain pan. Do not remove panels, touch wiring, or attempt to bypass a safety switch.
Write down what happened before the failure: storms, flickering power, unusual sounds, a burning smell, or repeated short cycling. Those details can shorten the diagnostic visit and help identify surge damage or an intermittent fault.
When Repair Is the Right Call
A failed capacitor, contactor, transformer, fuse, relay, or section of damaged low-voltage wiring can often be repaired without replacing the entire HVAC system. The right choice depends on the equipment’s age, condition, repair history, efficiency, refrigerant type, and the cost of the confirmed repair.
There are times when replacement is practical. If a compressor has failed in an older system with major refrigerant issues, or if expensive electrical repairs are part of a larger pattern of breakdowns, a new properly matched system may be the better long-term investment. But that decision should come after the cause is verified and the options are explained clearly.
At DDL Services, the standard is straightforward: diagnose first, explain the findings, and recommend the repair that fits the equipment and the customer. No one should feel pressured into replacing a system because a technician did not take the time to test it.
Protect the System From Repeat Electrical Problems
Preventive maintenance cannot prevent every failure, but it catches many problems before they become an emergency. During a professional visit, technicians can inspect electrical connections, test capacitors, check voltage and amp draw, verify safety controls, and look for heat damage at terminals and wiring.
For properties with frequent outages or storm exposure, surge protection may be worth discussing. It is not a cure-all, and it will not fix worn components, but it can help protect sensitive boards and controls from damaging voltage spikes. The right protection depends on the equipment, electrical panel, and building setup.
If your HVAC system is tripping breakers, failing to start, or showing signs of electrical damage, shut it down and get a qualified diagnosis. A clear answer now can protect your equipment, your comfort, and your budget later.