

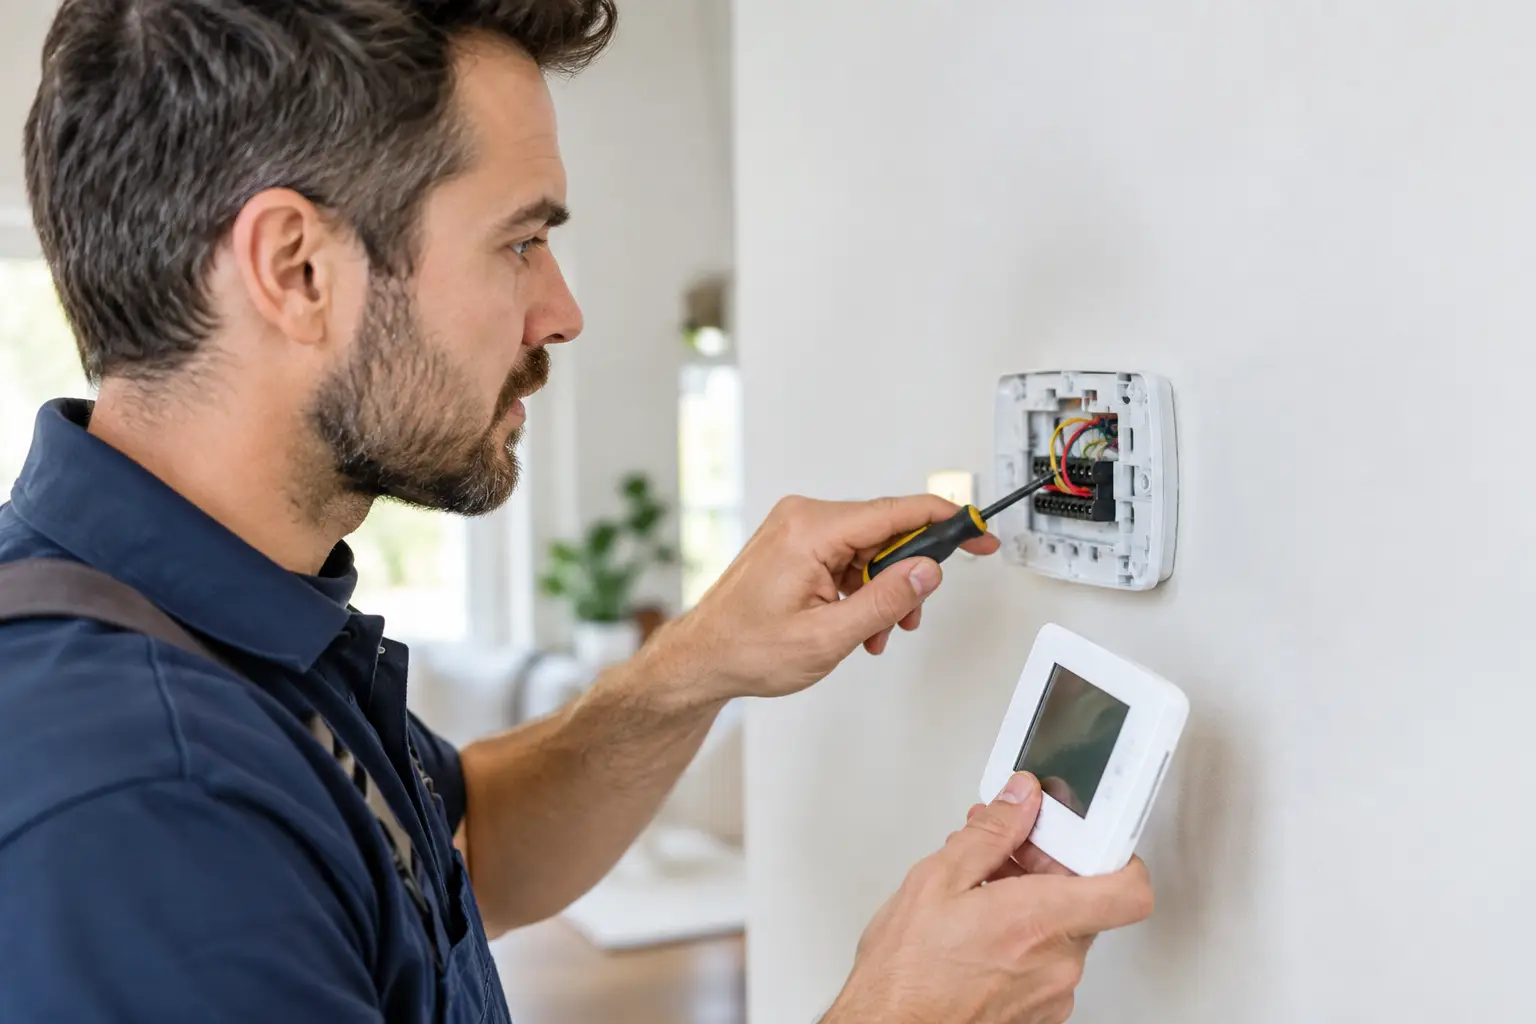
A thermostat can look outdated and still control a perfectly serviceable HVAC system. It can also be the reason your home feels uneven, your heat pump runs at the wrong time, or your utility bill climbs without a clear explanation. This guide to replacing old thermostats helps Charlotte-area homeowners make the change without guessing at wiring, equipment compatibility, or whether the thermostat is actually the problem.
Start With Diagnosis, Not a New Thermostat
Replacing a thermostat makes sense when the display is failing, the buttons no longer respond, the temperature reading is consistently inaccurate, or the unit cannot support the schedule and controls you need. It is also a practical upgrade when moving from an old manual thermostat to a programmable or smart model.
But a new thermostat will not fix every comfort issue. If the system does not heat or cool, short cycles, freezes up, trips a breaker, or runs constantly, the cause may be a dirty filter, clogged drain, low refrigerant, failing capacitor, damaged wiring, or an equipment issue. A thermostat replacement in that situation can add cost without solving the real problem.
Before buying anything, compare the temperature on the thermostat with a reliable room thermometer placed nearby. A difference of a degree or two can be normal depending on placement. A larger, persistent difference is worth investigating. Also check the batteries if your existing thermostat uses them, confirm the HVAC breaker is on, and replace a severely restricted air filter.
Identify Your HVAC System Before Choosing a Thermostat
Thermostats are not one-size-fits-all. The correct model depends on the equipment it needs to control.
Most central HVAC systems use 24-volt low-voltage controls. These commonly include a furnace and air conditioner, an air handler and heat pump, or a packaged unit. A conventional system typically uses terminals such as R, G, Y, W, and C. A heat pump may also use O/B for the reversing valve and AUX or E for auxiliary or emergency heat.
That extra heat-pump wiring matters in the Charlotte area, where many homes rely on heat pumps. Selecting the wrong setup option can make the system cool when it should heat, prevent auxiliary heat from operating correctly, or increase energy use during cold weather.
Some older systems use line-voltage thermostats, usually 120 or 240 volts, for electric baseboard heat or certain commercial applications. These are not interchangeable with standard low-voltage smart thermostats. Do not attempt to connect a low-voltage thermostat to line-voltage wiring.
Before purchasing a replacement, remove the thermostat cover and photograph the wiring and terminal labels. Do not rely on wire color alone. A blue wire is often used as a common wire, for example, but color is not a guarantee of function. Check the terminals where each wire is connected.
Is a Smart Thermostat the Right Upgrade?
A programmable thermostat is a straightforward choice for homeowners who want scheduled temperature changes without using an app. Smart thermostats add remote control, usage reports, and features that can adjust around occupancy or local weather conditions.
The trade-off is compatibility and setup. Many smart thermostats require a C-wire, also called a common wire, for continuous power. Older thermostat cables may not have one connected, even when an unused wire exists in the wall. Some models include a power adapter, but that adapter must be installed correctly at the indoor equipment.
Smart features are useful when they match how the building is used. A family with predictable work and school schedules may benefit from programmed setbacks. A small office with shifting hours may benefit from remote access. If someone is home all day and prefers a steady temperature, a basic, reliable thermostat may be the better value.
How to Replace an Old Thermostat Safely
For a standard, compatible low-voltage thermostat, the physical replacement is usually manageable. The details still matter, especially with heat pumps, multi-stage systems, and zoning controls.
Shut Off Power at the Equipment
Turn off power to the furnace, air handler, or HVAC system at the breaker before touching thermostat wiring. Turning the thermostat to Off is not the same as removing electrical power. Low-voltage wiring can still short and damage a control board or transformer if wires touch.
If you cannot identify the correct breaker or access the indoor equipment safely, stop there and schedule service.
Document the Existing Connections
Remove the thermostat face from its wall plate. Take clear photos of the terminals and every connected wire before loosening anything. Label each wire by its terminal letter, not by color. Small tags or masking tape work well.
If a wire slips back into the wall, retrieval can become more involved. Keep gentle tension on the cable or wrap the wires around a pencil while changing the wall plate.
Install the New Wall Plate and Connect Wires
Mount the new plate level, then connect each wire to the matching terminal identified in your photos and the new thermostat instructions. Do not force a wire into a terminal that does not match. Some thermostat brands use slightly different labels, and the installation guide should explain their equivalents.
Avoid doubling wires under one terminal unless the manufacturer specifically allows it. A loose connection can create intermittent operation that is difficult to diagnose later.
Restore Power and Configure the System
After securing the thermostat, restore power and follow the setup prompts. Choose the correct system type, fuel source, number of heating and cooling stages, and heat-pump configuration. These settings are not minor details. Incorrect configuration can cause poor comfort, unnecessary auxiliary heat, or equipment that does not operate as intended.
Test cooling and heating separately. For cooling, set the thermostat several degrees below room temperature and allow a few minutes for the system delay to clear. Confirm the indoor blower starts and outdoor unit operates. For heating, raise the set point and confirm warm air is delivered. Heat-pump systems may need several minutes to change modes.
When Replacing a Thermostat Is Not a DIY Job
There is no advantage in forcing a thermostat replacement when the system is more complex than the instructions make it appear. Call a qualified HVAC technician if you have a heat pump with auxiliary heat, a dual-fuel system, multiple zones, a humidifier, whole-home dehumidifier, ventilation controls, or a commercial thermostat tied to building equipment.
Professional help is also the right call if there is no C-wire and you are unsure how to add one, wires do not match standard terminal labels, the thermostat has more wires than the new model accepts, or the new thermostat will not power up after installation.
A technician can determine whether the issue is the thermostat, the wire path, the transformer, the control board, or the equipment itself. That diagnosis protects you from replacing parts based on assumptions. DDL Services approaches thermostat and HVAC concerns the same way: find the actual fault first, then recommend the practical repair.
Placement Can Matter as Much as the Thermostat
A high-quality thermostat in a poor location will still give poor readings. It should be installed on an interior wall in a regularly used area, away from direct sun, supply vents, exterior doors, kitchens, fireplaces, and lamps that give off heat.
If your current thermostat is on an exterior wall or near a draft, a replacement may continue to behave inaccurately unless the location is corrected. Moving a thermostat can require new cable routing and wall repair, so it is usually a job worth planning with an HVAC professional.
For commercial spaces, placement deserves even more attention. A thermostat near an entry door, copy room, server rack, or sunny storefront can cause comfort complaints throughout the building. The reported temperature may be accurate for that one spot while being wrong for the people working elsewhere.
Keep the Old Thermostat Until Testing Is Complete
Do not throw away the old thermostat or packaging until the replacement has operated through both heating and cooling modes. Keep your wiring photos as well. They provide a useful record if a technician needs to troubleshoot the system later.
A thermostat upgrade should make comfort easier to manage, not create a new mystery. If the wiring, system type, or behavior of the equipment raises questions, pause before making another change. A clear diagnosis is usually less expensive than correcting a preventable wiring or configuration mistake.